Watercolor does not scan too well and a lot of times it is better to take pics of watercolor rather than scanning it in.
So sometimes something nice like this drawing... will come out not as blue and not as nice when you scan it.Eventually I like nice and bright colors but not matter how I fix the color balance things always look yellowish to me... so I started painting in yellow light LOL.
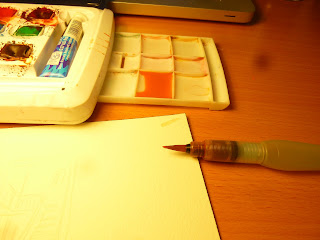
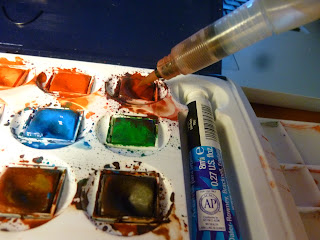
This is my watercolor set.
I have different brands cubes in there but I basically started with tubes (which could be transparent or opaque) and ended up using mainly little cubes because it's easier to carry around.
Those are my synthetic brushes, they have a tank in their handle for the water.
So I squeeze the brush and get the water out.
So, how I work is very simple, I think everybody does it this way, right?
I do my first layer very light so there's a lot of water and very little pigment.
Some things I paint wet on wet (so I wet the surface first) but even when I do that I don't wet the surface with simple water, there's always a bit of the color in it.
I do all of my skin tones first... so that the color stays the same throughout.
So I mix the color once and then I paint all the faces and hands first.
I always hold a piece of tissue in my hand... that's my undo.
One one hand I clean my brush often, on the other hand I might need to tap on the paper if - by any chance - I happened to have dropped too much paint/water/color on the surface.
Transparent watercolor is not so unforgiving and it's easy to fix problems.
Another thing I do is... I dry the brush tip in case I need to move the paint around (I'll show that in a video).
Crimson is my favourite color to add in shadows.
I also drop a bit of crimson in all my yellow to make my yellow richer and more to the golden side.
I also have different size brushed.
Small one for details, flat one for washes...
The skin tone comes from Burnt Sienna.
The blush I do wet on wet...
It means that I add the red to the skin tone I already created and then I drop the pigment on the already wet surface.
I think the best way to show you how I approach the coloring is to actually make a video.
Sorry the quality is not super good and it's hard to paint with one hand while holding the camera with the other hand...
I usually prefer to have a firm grip on the paper as I paint and also a firm grip on my tissue.


1 comment:
So pretty! What an interesting process =D
I love the behind the scenes.
Post a Comment