
I work mainly in layers because that's how I would do it traditionally, work from the bottom up - my preferred medium being gouache and glaze for this kind of style.

Create the panels with the object tool and then create a selection.
I dump the base color with the bucket and turn down the sketch opacity.


Now I pick a dry brush and start painting on sperate layers the other colors. Like this, if I want to turn the opacity down I still can, and if I want to play with multiply... I also can.

Then I take a regular hard brush and do the linework. This is not pure white though. I never use pure white and pure black as they actually do not exist in nature and make things look... mhhh... artificial, I'd say...


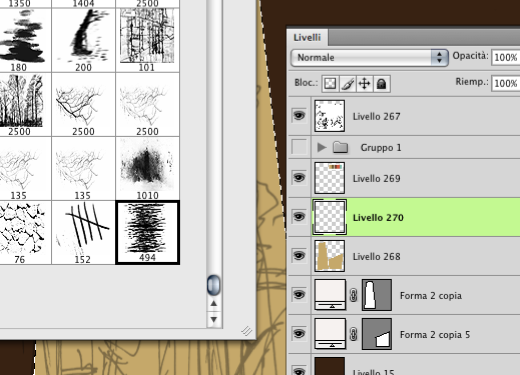
The layers you see on top are from the previous page. Although I write down the code numbers of my colors... sometimes, to make sure I am keeping consistency, I create my new page in the same file as the old one where I swtich on and off the old layers and double check comparing with the new ones... before I trash the old ones away.

As you see my skin tone is both on top and bottom. The bottom one allows me to fill empty shapes fast. the top one is to refine the edges with the yellow border so... for touch ups.


I don't know what this brush is called. I customized it long ago from an airbrush in Cs5 and I cannot replicate it in Cs6, but it's my favorite brush and I definitely need to save and export my favorite brushes if I ever want to switch to cs6 (which might not happen though because I find it heavy).


I flatten the artwork, save the file as Lettering and do my lettering .

No comments:
Post a Comment